
Building the Foundation — Talos, Nodes, and Cilium
This post covers the first three steps of building Frank, the Talos Cluster: bootstrapping Talos Linux via Omni, organizing nodes into labeled zones, and installing Cilium as the CNI with eBPF kube-proxy replacement.
Why Talos Linux?
Most Kubernetes homelab guides start with Ubuntu Server and kubeadm, or a turnkey distribution like k3s. Both are fine choices, but they carry an assumption: you will SSH into your nodes, install packages, edit files, and maintain a general-purpose Linux system alongside your cluster. Over time, that OS layer accumulates drift – an apt upgrade here, a stale config file there – and reproducing the state of any given node becomes an exercise in archaeology.
Talos Linux takes a different approach. It is a purpose-built, immutable operating system designed to run Kubernetes and nothing else. There is no SSH. There is no shell. There is no package manager. The entire OS is defined by a single machine configuration document, applied through a gRPC API (talosctl). If you want to change something about a node – add a kernel argument, enable a system extension, set a static IP – you modify the machine config and apply it. The node reconciles to match.
This gives you a few properties that matter for a homelab that you actually want to maintain:
- Reproducibility. Every node’s state is fully described by its machine config. You can rebuild any node from scratch by re-applying the same document.
- Security posture. With no shell access and a read-only root filesystem, the attack surface is minimal. There is nothing to harden because there is nothing extra installed.
- Declarative operations. Updates, reboots, and configuration changes are all API calls. You can version-control the machine configs and treat them like any other infrastructure-as-code artifact.
The trade-off is real: when something goes wrong, you cannot SSH in and poke around. Debugging happens through talosctl logs, talosctl dmesg, and the Kubernetes API itself. It takes some adjustment, but once you internalize the workflow, the operational simplicity is worth it.
Bootstrapping with Omni
Sidero Omni sits on raspi-omni in Zone A (the management zone) and handles machine lifecycle: enrollment, configuration, upgrades, and cluster creation. It is a SaaS-like control plane for Talos clusters – you boot a machine with the Omni ISO, it phones home, and you assign it to a cluster through the Omni dashboard or API.
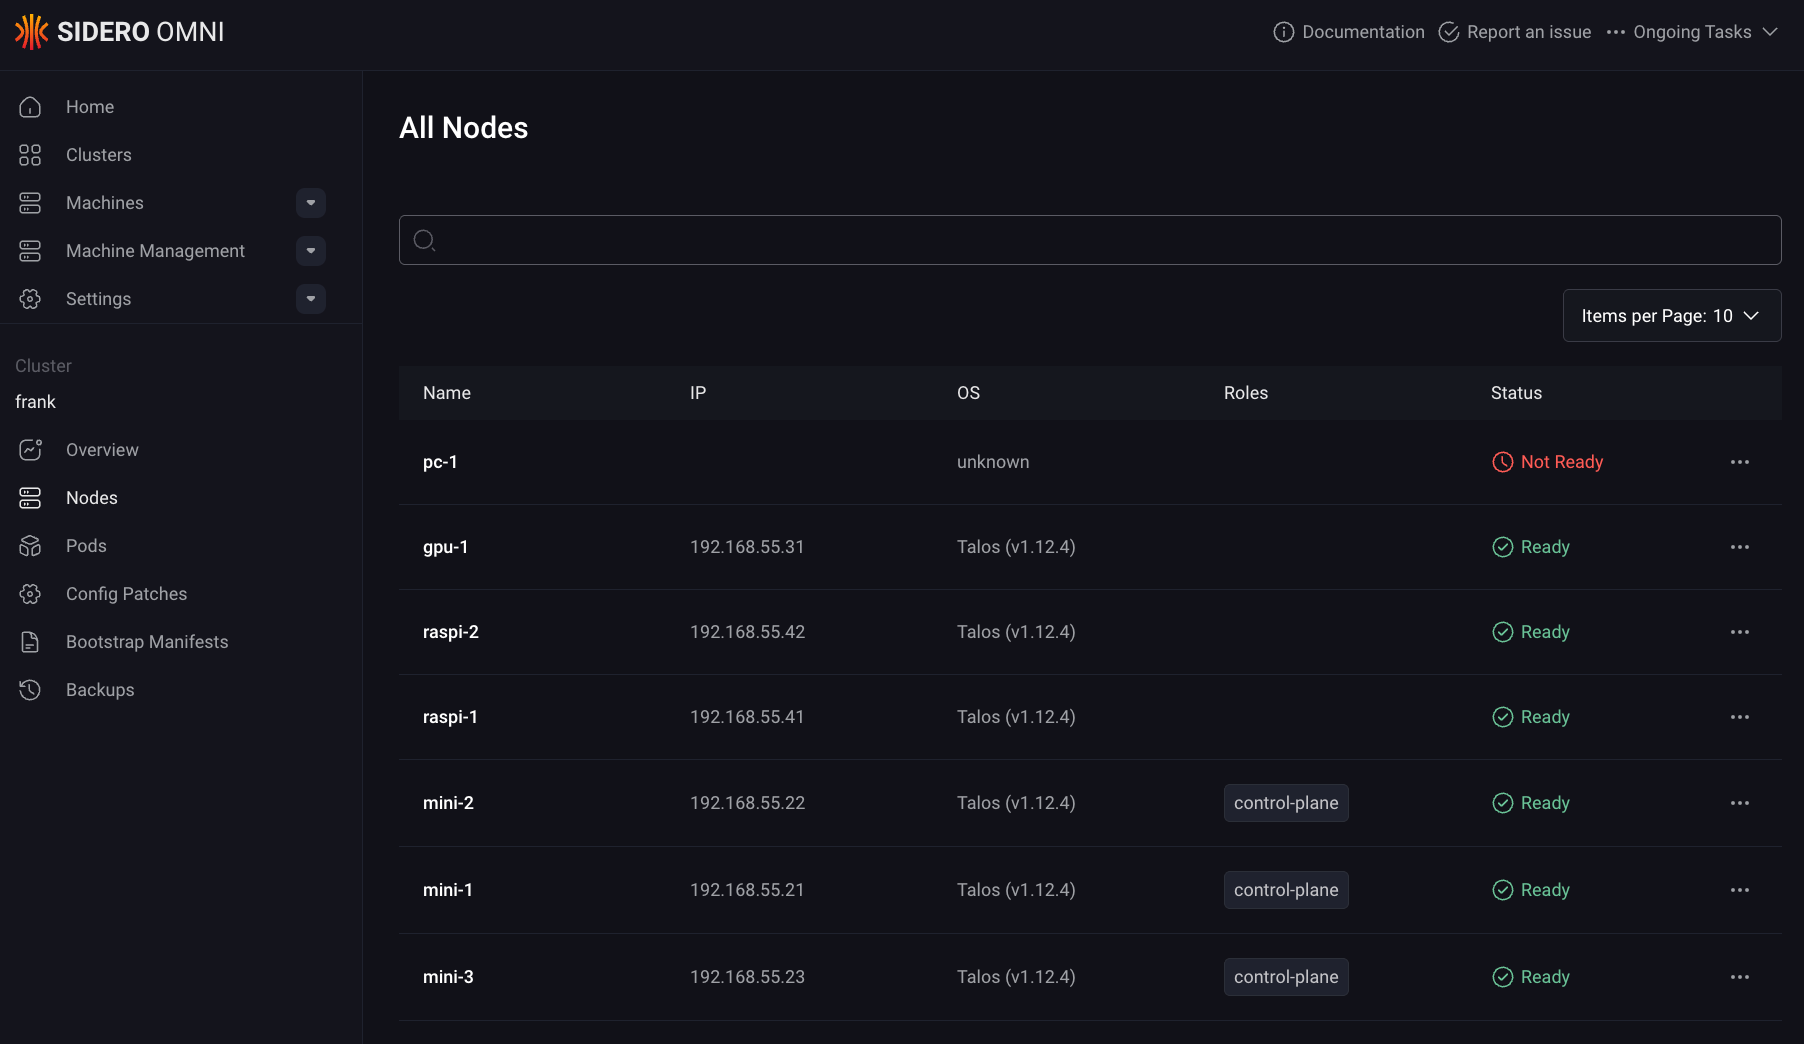
For Frank, the Talos Cluster, the bootstrap sequence was straightforward:
- Flash each machine (minis, gpu-1, pc-1, Raspberry Pis) with the Omni Talos ISO.
- Machines appear in the Omni inventory as unallocated.
- Create the
frankcluster in Omni, assignmini-1,mini-2,mini-3as control planes, and the rest as workers. - Omni generates machine configs, pushes them to each node, and bootstraps etcd.
Omni lives outside this repo – it is Zone A infrastructure, managed manually on raspi-omni. Everything from Layer 1 onward is applied as config patches through omnictl, which layer on top of the base machine configs that Omni generated. This is how you customize Talos nodes without touching the base config directly: each patch targets either the whole cluster or a specific machine by ID.
Layer 1: Node Configuration
With the cluster bootstrapped and all seven nodes reporting Ready, the first order of business is making the cluster usable for a homelab workload mix. That means two things: letting workloads run on the control plane nodes, and labeling every node so we can target scheduling decisions later.
Key Config: Cluster-Wide Scheduling
In a production environment, you keep workloads off the control plane. In a homelab with three control-plane nodes that are also your best hardware (Intel NUC-class minis with 64 GB RAM each), leaving them idle is wasteful. The following Omni config patch removes the default NoSchedule taint from all control-plane nodes:
# patches/phase01-node-config/01-cluster-wide-scheduling.yaml
cluster:
    allowSchedulingOnControlPlanes: true
This is a cluster-scoped patch (note the omni.sidero.dev/cluster: frank label, no machine-specific selector). Talos handles this at the config level rather than requiring you to manually remove taints with kubectl taint. The result: mini-1, mini-2, and mini-3 run both control-plane components and regular workloads, which is essential when those three nodes are also your Longhorn storage tier.
Key Config: Node Labels
Every node gets a set of labels applied through per-machine config patches. The labeling scheme encodes the zone architecture described in Post 1:
# patches/phase01-node-config/03-labels-mini-1.yaml (abbreviated)
machine:
    nodeLabels:
        zone: core
        tier: standard
        accelerator: intel-igpu
        igpu: intel-arc
# patches/phase01-node-config/03-labels-gpu-1.yaml (abbreviated)
machine:
nodeLabels:
zone: ai-compute
tier: standard
accelerator: nvidia
model-server: "true"# patches/phase01-node-config/03-labels-raspi-1.yaml (abbreviated)
machine:
nodeLabels:
zone: edge
tier: low-powerThe pattern across all seven nodes:
| Label | Values | Purpose |
|---|---|---|
zone | core, ai-compute, edge | Maps to the physical zone architecture (B, C, D) |
tier | standard, low-power | Distinguishes capable nodes from Raspberry Pis |
accelerator | nvidia, intel-igpu | Marks GPU-equipped nodes for device plugin scheduling |
igpu | intel-arc | Specific iGPU model (used by Intel DRA driver) |
model-server | "true" | Flags gpu-1 for future AI inference workloads |
These labels are applied via Talos machine config, not kubectl label. The difference matters: if a node reboots or is reprovisioned, the labels survive because they are part of the declarative machine state. Labels applied with kubectl are stored in the Kubernetes API and can drift if the node is recreated.
Each patch file targets a specific machine by its Omni machine ID (a UUID), ensuring the labels go to exactly the right node. The ID-based targeting in the Omni metadata looks like:
metadata:
    labels:
        omni.sidero.dev/cluster: frank
        omni.sidero.dev/cluster-machine: ce4d0d52-6c10-bdc9-746c-88aedd67681b
$ talosctl health --nodes 192.168.55.21 2>&1 | head -25
discovered nodes: ["192.168.55.31" "192.168.55.71" "192.168.55.41" "192.168.55.42" "192.168.55.21" "192.168.55.22" "192.168.55.23"]
waiting for etcd to be healthy: ...
waiting for etcd to be healthy: OK
waiting for etcd members to be consistent across nodes: ...
waiting for etcd members to be consistent across nodes: OK
waiting for etcd members to be control plane nodes: ...
waiting for etcd members to be control plane nodes: OK
waiting for apid to be ready: ...
waiting for apid to be ready: OK
waiting for all nodes memory sizes: ...
waiting for all nodes memory sizes: OK
waiting for all nodes disk sizes: ...
waiting for all nodes disk sizes: OK
waiting for no diagnostics: ...
waiting for no diagnostics: OK
waiting for kubelet to be healthy: ...
waiting for kubelet to be healthy: OK
waiting for all nodes to finish boot sequence: ...
waiting for all nodes to finish boot sequence: OK
Layer 2: Cilium CNI
Talos ships with Flannel as the default CNI. Flannel works, but it is a minimal overlay network – no network policy enforcement, no built-in observability, and no native LoadBalancer implementation. For a homelab that needs to expose services on the local network and wants visibility into pod-to-pod traffic, Cilium is a significant upgrade.
The key features that justified the switch:
- eBPF kube-proxy replacement. Cilium replaces kube-proxy entirely, handling service load balancing in eBPF at the kernel level rather than through iptables chains. This is faster and eliminates the kube-proxy DaemonSet.
- L2 LoadBalancer announcements. Cilium can announce LoadBalancer IPs via ARP on the local network, giving services real IPs on your home subnet without MetalLB.
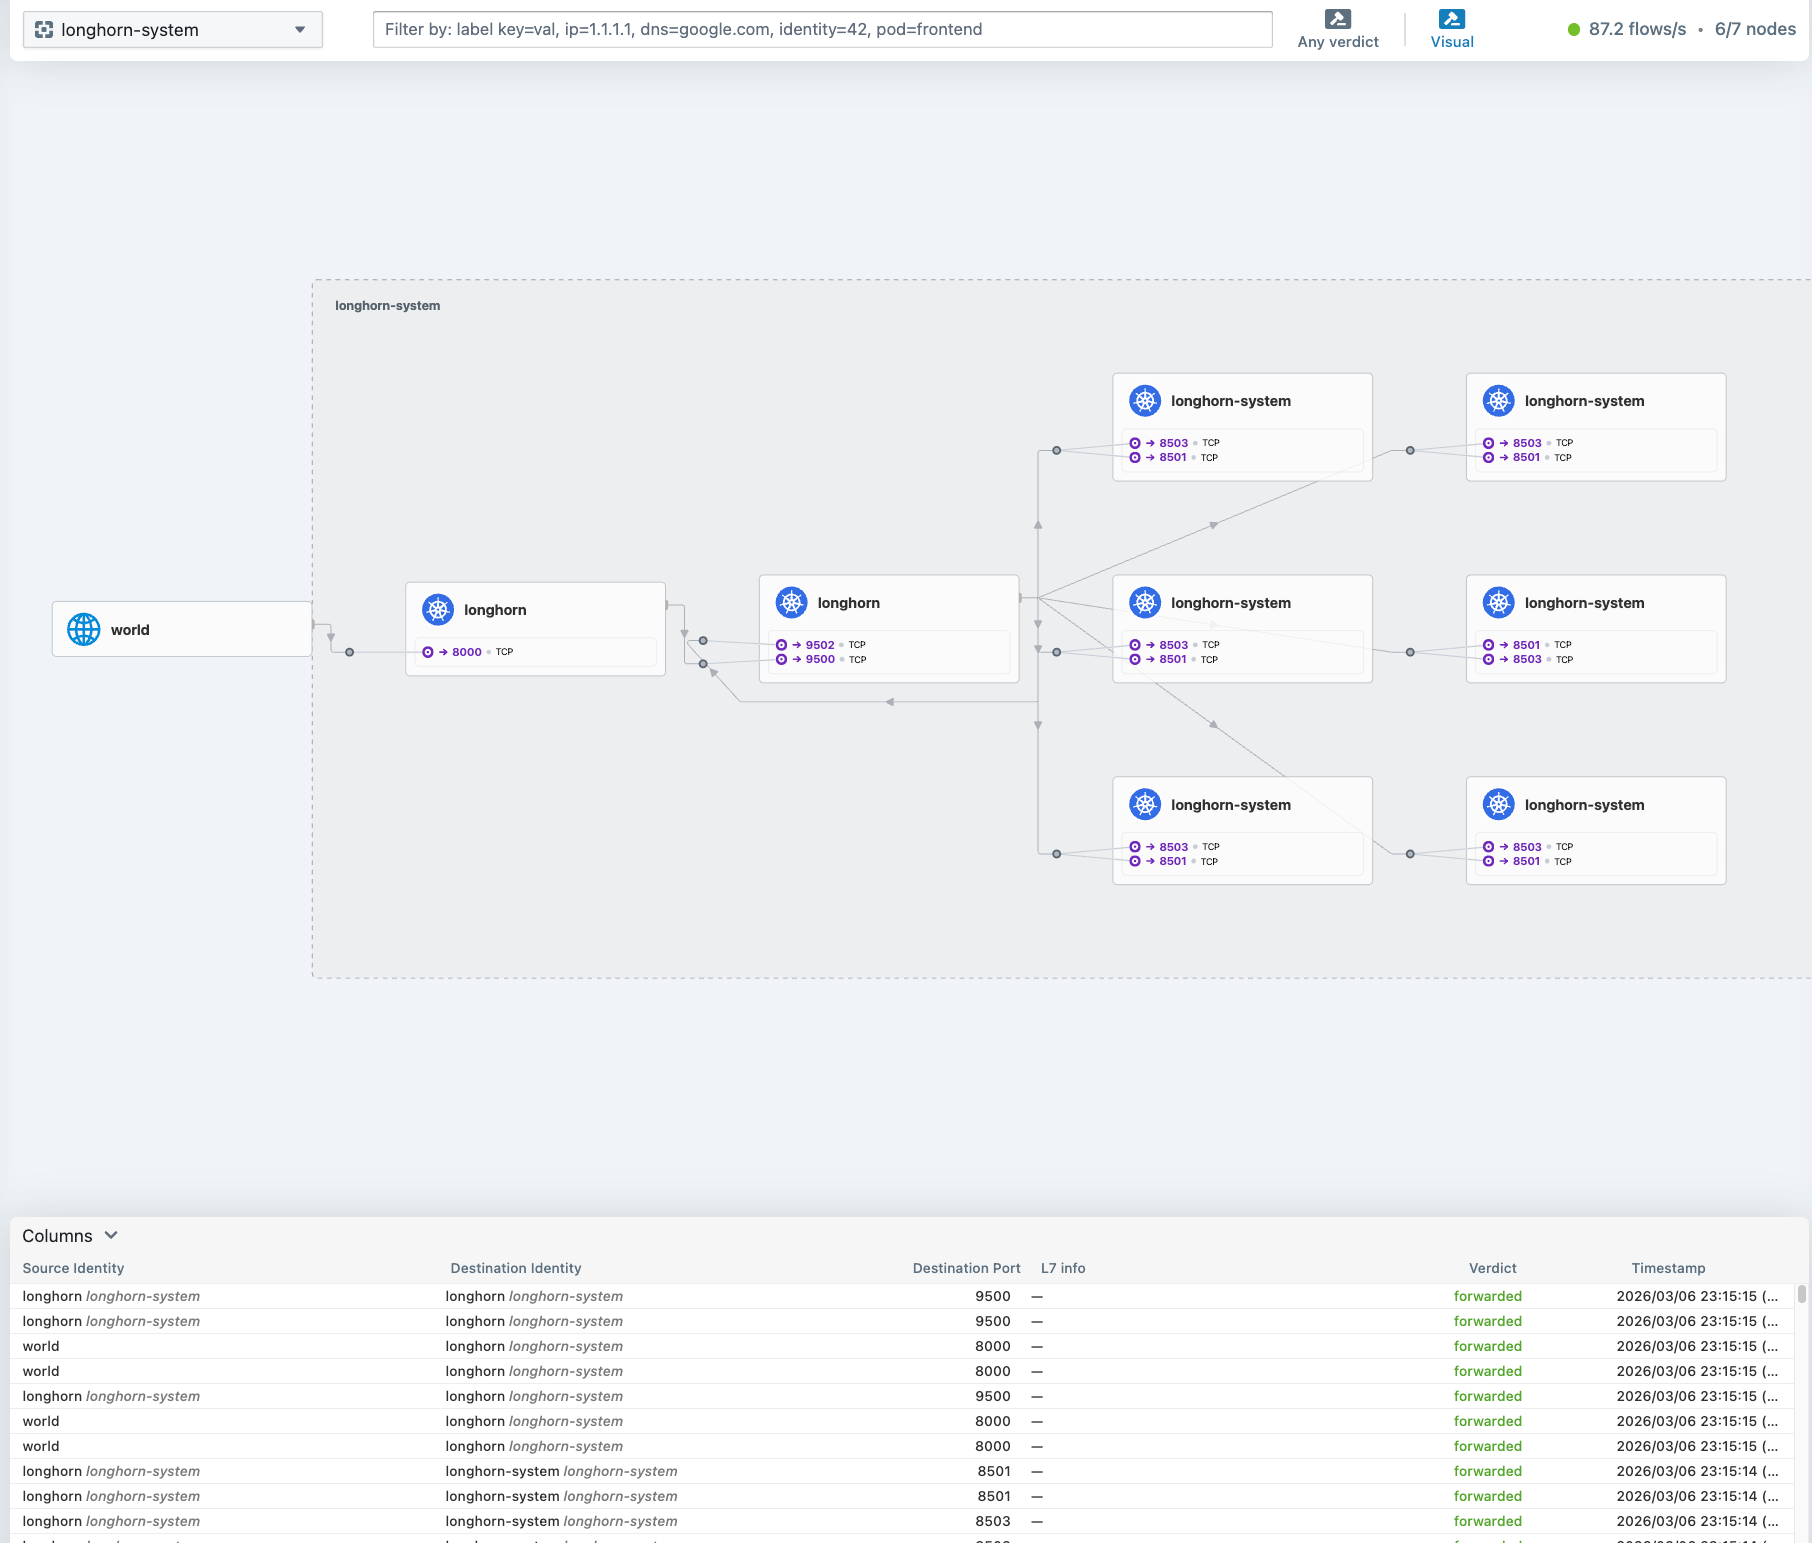
- Hubble. Built-in network observability with a UI. You can see every flow between pods, which is invaluable for debugging connectivity issues in a mixed-architecture cluster.
Removing Flannel
Swapping the CNI on a running Talos cluster is a careful two-step process. First, you tell Talos to stop managing the default CNI and to disable kube-proxy:
# patches/phase02-cilium/02-cluster-wide-cni-none.yaml
cluster:
    network:
        cni:
            name: none
    proxy:
        disabled: true
This patch does two things: it sets cni: none so Talos does not install Flannel on new or rebooting nodes, and it disables the built-in kube-proxy. The order matters – you need Cilium ready to deploy immediately after applying this patch, because the cluster will lose pod networking until the new CNI takes over.
Before applying the patch, you also need to manually clean up the existing Flannel and kube-proxy DaemonSets:
kubectl delete ds kube-flannel -n kube-system
kubectl delete ds kube-proxy -n kube-system
Installing Cilium
Cilium is installed via its Helm chart (v1.17.0). The Helm values require several Talos-specific settings that are not obvious from the standard Cilium documentation:
# apps/cilium/values.yaml (key sections)
kubeProxyReplacement: true
k8sServiceHost: 127.0.0.1
k8sServicePort: 7445

cgroup:
  autoMount:
    enabled: false
  hostRoot: /sys/fs/cgroup

hubble:
  enabled: true
  relay:
    enabled: true
  ui:
    enabled: true

operator:
  replicas: 2

l2announcements:
  enabled: true
externalIPs:
  enabled: true
A few values worth explaining:
k8sServiceHost: 127.0.0.1/k8sServicePort: 7445: Talos runs a local API server proxy on every node at127.0.0.1:7445. Since Cilium is replacing kube-proxy, it needs to know how to reach the Kubernetes API directly, without relying on thekubernetes.defaultservice (which kube-proxy would normally handle). This localhost proxy is a Talos-specific detail.cgroup.autoMount.enabled: false: Talos already mounts cgroups. Letting Cilium try to mount them again causes conflicts. You point it to the existing mount at/sys/fs/cgroupinstead.operator.replicas: 2: With three control-plane nodes, running two operator replicas gives HA without consuming a third node’s resources.l2announcements.enabled: true: This activates Cilium’s native L2 aware LB mode, which replaces the need for MetalLB entirely.
Beyond the Helm values, two additional manifests complete the L2 LoadBalancer setup:
# apps/cilium/manifests/lb-ippool.yaml
apiVersion: "cilium.io/v2alpha1"
kind: CiliumLoadBalancerIPPool
metadata:
  name: default-pool
spec:
  blocks:
    - start: "192.168.55.200"
      stop: "192.168.55.254"
# apps/cilium/manifests/l2-policy.yaml
apiVersion: "cilium.io/v2alpha1"
kind: CiliumL2AnnouncementPolicy
metadata:
name: default-l2-policy
spec:
interfaces:
- ^eth[0-9]+
- ^en[a-z0-9]+
externalIPs: true
loadBalancerIPs: trueThe IP pool reserves 192.168.55.200-254 on the home subnet for LoadBalancer services. The L2 announcement policy tells Cilium to respond to ARP requests for those IPs on any Ethernet interface matching the regex patterns – this covers both eth0 (Raspberry Pis) and enp-style names (the x86 machines). Any service of type LoadBalancer automatically gets an IP from this pool and becomes reachable from the local network.
$ cilium status --wait=false 2>&1 | head -25
    /¯¯\
 /¯¯\__/¯¯\    Cilium:             OK
 \__/¯¯\__/    Operator:           OK
 /¯¯\__/¯¯\    Envoy DaemonSet:    OK
 \__/¯¯\__/    Hubble Relay:       OK
    \__/       ClusterMesh:        disabled

DaemonSet              cilium                   Desired: 7, Ready: 7/7, Available: 7/7
DaemonSet              cilium-envoy             Desired: 7, Ready: 7/7, Available: 7/7
Deployment             cilium-operator          Desired: 2, Ready: 2/2, Available: 2/2
Deployment             hubble-relay             Desired: 1, Ready: 1/1, Available: 1/1
Deployment             hubble-ui                Desired: 1, Ready: 1/1, Available: 1/1
Containers:            cilium                   Running: 7
                       cilium-envoy             Running: 7
                       cilium-operator          Running: 2
                       clustermesh-apiserver
                       hubble-relay             Running: 1
                       hubble-ui                Running: 1
Cluster Pods:          135/135 managed by Cilium
Helm chart version:    1.17.0
Image versions         cilium             quay.io/cilium/cilium:v1.17.0@sha256:51f21bdd003c3975b5aaaf41bd21aee23cc08f44efaa27effc91c621bc9d8b1d: 7
                       cilium-envoy       quay.io/cilium/cilium-envoy:v1.31.5-1737535524-fe8efeb16a7d233bffd05af9ea53599340d3f18e@sha256:57a3aa6355a3223da360395e3a109802867ff635cb852aa0afe03ec7bf04e545: 7
                       cilium-operator    quay.io/cilium/operator-generic:v1.17.0@sha256:1ce5a5a287166fc70b6a5ced3990aaa442496242d1d4930b5a3125e44cccdca8: 2
                       hubble-relay       quay.io/cilium/hubble-relay:v1.17.0@sha256:022c084588caad91108ac73e04340709926ea7fe12af95f57fcb794b68472e05: 1
                       hubble-ui          quay.io/cilium/hubble-ui-backend:v0.13.1@sha256:0e0eed917653441fded4e7cdb096b7be6a3bddded5a2dd10812a27b1fc6ed95b: 1
Gotchas
A few things that tripped me up during this layer:
The CNI swap is not atomic. There is a window between applying
cni: noneand Cilium becoming ready where pods cannot communicate. If you are doing this on a running cluster, expect a few minutes of downtime. On a fresh cluster it is less of an issue because you can apply the patch before deploying workloads.Talos-specific security capabilities. The Cilium agent requires an explicit list of Linux capabilities to function on Talos. The default Cilium Helm values do not include all of them. If you see Cilium pods stuck in
CrashLoopBackOffwith permission errors, check that yoursecurityContext.capabilities.ciliumAgentlist includesIPC_LOCK,SYS_RESOURCE, and the other entries shown in the values above. ThecleanCiliumStateinit container also needs its own capability set.cgroup auto-mount conflicts. If you leave
cgroup.autoMount.enabled: true(the default), Cilium will try to mount cgroupv2 and fail on Talos because it is already mounted and the root filesystem is read-only. The symptom is the Cilium agent pods failing to start with mount-related errors. Set it tofalseand pointhostRootto the existing mount.L2 announcement interface regex. The interface pattern needs to match your actual node interfaces. A pattern like
^eth0$will miss nodes that useenpnaming. Using the broader regex patterns (^eth[0-9]+and^en[a-z0-9]+) covers the heterogeneous hardware in the cluster.kube-proxy cleanup. Even after setting
proxy.disabled: truein the Talos config, the existing kube-proxy DaemonSet does not automatically disappear. You need to delete it manually. If you forget, you will have both Cilium and kube-proxy fighting over iptables rules, which leads to confusing connectivity issues.
Exposing Hubble UI
Cilium deploys Hubble UI as a ClusterIP service by default, which means it is only accessible from inside the cluster. To reach it from the local network, a LoadBalancer service with a fixed IP is added alongside the L2 pool and announcement policy:
# apps/cilium/manifests/hubble-ui-service.yaml
apiVersion: v1
kind: Service
metadata:
  name: hubble-ui-lb
  namespace: kube-system
  annotations:
    io.cilium/lb-ipam-ips: "192.168.55.202"
spec:
  type: LoadBalancer
  selector:
    k8s-app: hubble-ui
  ports:
    - name: http
      port: 80
      targetPort: 8081
The io.cilium/lb-ipam-ips annotation pins this service to 192.168.55.202, the same mechanism used for ArgoCD at .200. Because this manifest lives in apps/cilium/manifests/, the existing cilium-config ArgoCD Application picks it up automatically — no new Application CR needed.
Hubble UI is then reachable at http://192.168.55.202 from any machine on the LAN.
What We Have Now
At this point the cluster has:
- 7 nodes running Talos Linux, managed by Omni
- Labeled zones (Core, AI Compute, Edge) for workload placement
- Cilium CNI with eBPF kube-proxy replacement
- L2 LoadBalancer (192.168.55.200-254) for service exposure
- Hubble UI for network observability at
http://192.168.55.202
References
- Talos Linux — Immutable, secure, minimal Kubernetes OS
- Talos Machine Configuration Reference — Declarative machine config documentation
- Sidero Omni — SaaS-simple Kubernetes cluster management for Talos Linux
- Deploying Cilium CNI on Talos — Official Talos guide for Cilium installation
- Cilium — Kubernetes Without kube-proxy — eBPF-based kube-proxy replacement documentation
- Cilium L2 Announcements — L2 Aware LoadBalancer and ARP announcement policy
- Cilium LB-IPAM — LoadBalancer IP Address Management with CiliumLoadBalancerIPPool
- Hubble — Network Observability — Cilium’s built-in network observability platform
- eBPF — Technology for programmable networking, observability, and security in the Linux kernel